IDEES DECO DYI BMR - FR
Crafting is more than just a fun activity. It also gives a second life to objects that would otherwise have been thrown out. Try these projects created from three everyday items.

Chic and Functional Wood Pallets
Wood pallets have become a popular choice in the past few years among crafters who make all kinds of creations, ranging from beds and deckchairs, to bookshelves and nightstands. Pallets are a versatile and simple option for crafting projects. They’re easy to find in home renovation centres or at your local recycling centre.
Turn a wood pallet into an amazing picture frame in no time! Simply secure the wood pallet against the wall and add your photos. Add a touch of paint or stain for a bit of added style!
Use two pallets to make a lovely planter for your flower pots. Start by removing the cross frames of the first pallet and attaching them to the second to make a planter with three sides and three bottoms. It’s a great way to keep herbs on hand year-round.
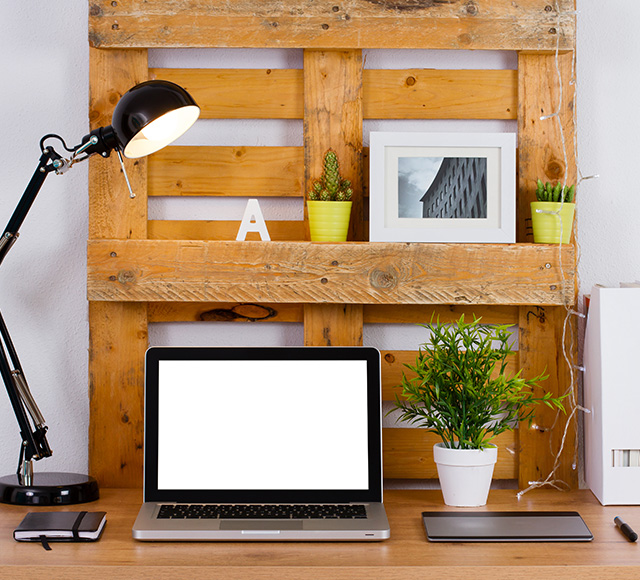
You can also use wood pallets to create Scandinavian-style hanging shelves for smaller rooms, such as the kitchen, living room, or a child’s bedroom.
You’ll need three boards, a drill, rope, and some hooks.
In each of the board’s four corners, drill four 3 cm holes. Cut the rope into four 150 cm pieces. Making a tight knot at the end of each rope, thread each piece of rope through its respective hole in the first board. Following the same steps above, make another knot about 45 cm above the first board and thread the rope through the second board. For the final step, simply secure the hooks on the wall and you’re all set! Now you have a beautiful, budget-friendly, and functional shelf!
Repurposed Mason Jars
Mason jars and canning go hand in hand. They’re great because they come in a range of sizes and are perfectly airtight. But what to do when you have too many? Well, we have some suggestions!
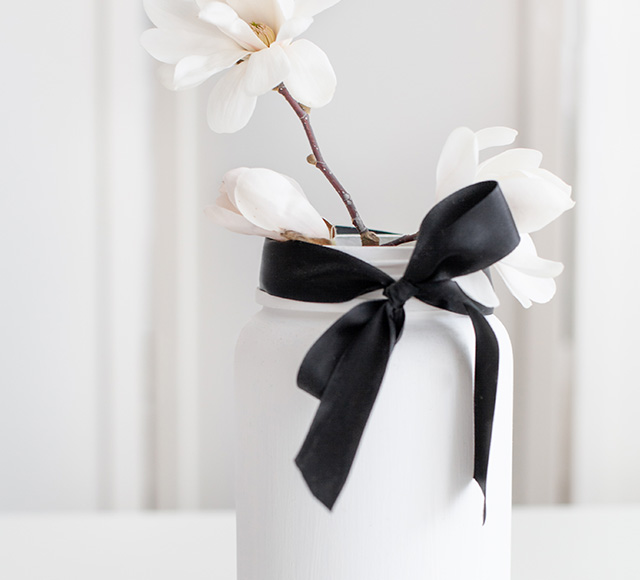
Here’s one to start: an original flower pot.
Make sure the jars are clean and dry. Use acrylic paint and apply it to the outside of the jar with a paintbrush. You can also use spray paint. Let the jars dry for at least four hours, then spray two thin coats of a matte or gloss finish. Wait 30 minutes between each coat.This finish will prevent the paint from chipping if you are filling your jars with fresh flowers.
To give your jars a more rustic look, chalkboard paint is the perfect choice. But since the finish will lessen their old-fashioned look, they might be better suited for dried flowers.
For best results, apply chalkboard paint with a foam brush. Let dry for three hours. Then, apply acrylic paint and let dry for three hours more. Apply a second coat of acrylic paint to completely cover the chalkboard paint and leave to dry overnight. To achieve a rustic look, use fine sandpaper (80 or 100) and lightly sand the jars in various areas, including any raised lettering, corners, edges... And voila: stunning mason jars!
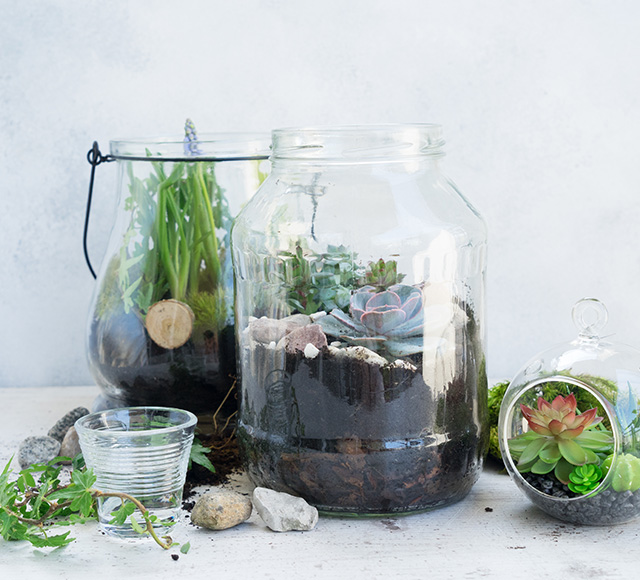
Mason jars are also great for creating terrariums for succulents or other small plants because the glass lets light in and retains heat to help them grow. Succulents only need a bit of water and sunlight to thrive. In fact, they prefer a cool, dry environment with little or no direct sunlight. Here are the steps for making a terrarium:
-
Fill the bottom of the jar with small pebbles.
-
Add a few centimetres of potting soil.
-
Make a small hole in the centre of the soil to plant the succulent.
-
Cover the roots with soil.
-
Decorate with small pebbles and moss.
Last but not least: a Mason jar cocktail shaker! Simply drill six holes into the lid around the edges of the jar in the shape of an equilateral triangle to allow liquid to easily flow through. Cheers!
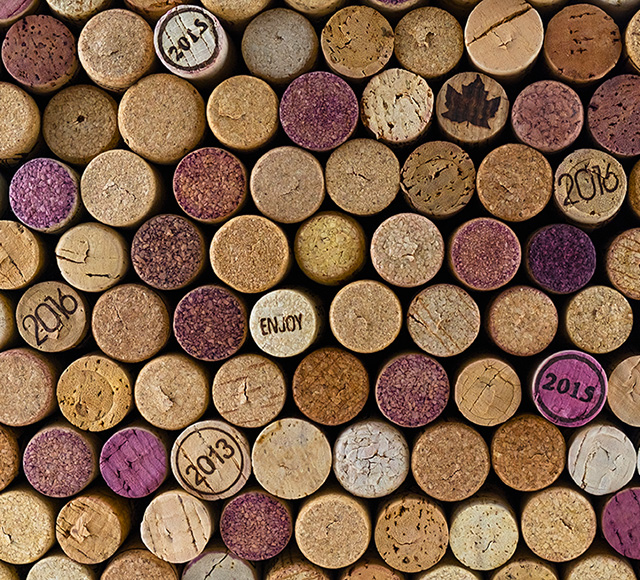
Putting Corks to Good Use
If you’re a wine enthusiast who likes to save your corks, you will certainly have enough for a few projects, like this very handy corkboard. Simply glue them to a plank or piece of plywood using a hot glue gun or multi-purpose glue. Make a large board if you can. That way, your corkboard can also serve as decor and not just a place to pin notes.
Corks are also great for making trivets. You will need a plank or piece of plywood, a knife, tacky glue, and some paint, if you want to add a border to your trivet. Trim each cork lengthwise and glue the flat side of each cork side by side to the board to create a level surface.
You can even make a cork necklace holder to prevent your jewelry from falling into your dresser drawer.
Once again, you’ll need a plank and multi-purpose glue. Now you just need to decide if you want to paint the plank or the corks. Place the corks at least three centimetres apart and glue the cork bases to the plank. All that’s left to do is hang your necklaces!
For more inspiration, see all our design tips here!