Winter is now giving way to spring, and to enjoy the warm weather to the fullest, you need to plan your outdoor spaces! Here are some tasks you can do in spring to get ready for summer.
Essentials to prepare your yard
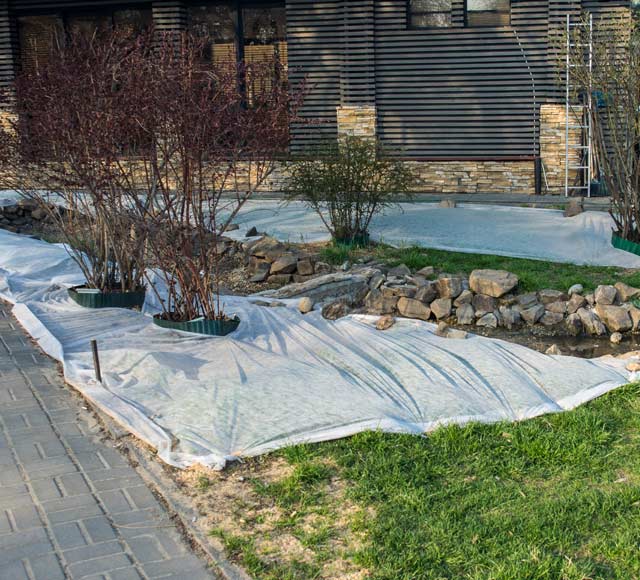
1-Remove all snow covers from shrubs
As soon as the temperature reaches 10˚C during the day, you can remove the snow covers from your shrubs and plants to prevent any overheating, as well as the buildup of moisture underneath the insulation blankets and Styrofoam cones, which can cause fungal diseases.
For rose bushes, remove the covers as soon as the daytime temperature regularly exceeds 2˚C.
Pro tip: Remove winter protection at the end of the day or when the weather is cloudy. At this time of the year, buds and evergreen leaves are fragile in the sun and can burn easily.
2- Secure paths
Uneven paths can be dangerous and lead to falls, so it’s important to ensure that they’re in good condition.
- Rake the scattered gravel back into the middle of the paths.
- Add sand or stone dust between the slabs if any is missing.
- If some of the slabs have lifted, remove them, level the surface, and put them back
- Algae can make surfaces slippery and cause falls. If there is algae in certain areas, remove it with a pressure washer on low.
3- Prepare your tools
April is the perfect time to check and maintain your gardening tools to maximize their efficiency and durability.
- Cutting tools (pruners, shears and loppers) need to be cleaned with a rag and rubbing alcohol to remove any resin residue from the blades. This also disinfects the tools, which prevents the spread of plant diseases that can occur when you prune an infected plant before moving on to the next.
- It’s also a good time to sharpen the blades of cutting tools with a metal file, a whetstone or a small grinding wheel.
- If your gardening tools show traces of rust, it’s very important to remove it. Use steel wool, a wire brush or very fine sandpaper to avoid scratching the blades. You can also rub the tools with sand or soak them in white vinegar for 24 hours.
- Afterwards, simply clean the handles of your tools with soapy water. If they’re made of unvarnished natural wood, you can apply a little linseed oil to nourish and protect the wood.

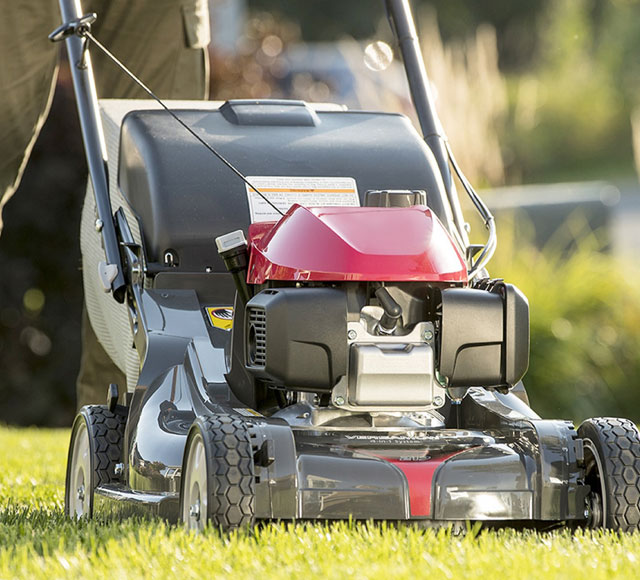
4- Prepare your lawn mower
Before mowing your lawn for the first time, you need to make sure that the mower is working properly.
- You will need to drain the gas tank. This step is crucial, since the gas spent the entire winter in the mower, making it less combustible. It may be difficult, or even impossible, for you to start the mower in that case. You must drain the old gas with a siphon pump and fill up the tank with new gas.
- Every spring, you must change the spark plug since it burns out quickly. This can make it difficult to start the mower, on top of wasting fuel.
- Also replace the air filter, since it easily clogs with oil and debris, which can reduce the efficiency of the engine.
- Sharpen your blades to cut neatly through grass. Shredding it makes it more vulnerable to diseases, which is why we recommend sharpening the blades of the mower in the spring and mid-season. If the blades are cracked, however, they will need to be replaced.
- Finally, clear the underside of the hood of any grass debris. If there is too much dirt and it’s difficult to remove by hand, use a pressure washer.
Pro tip: To help your lawn mower start up in the spring, we recommend leaving it in the sun for two hours before your first use of the season.
5- Check outdoor faucets
It’s important to check your faucets to make sure they haven’t been damaged due to freezing.
- Turn on the faucet and place your thumb over the opening: if you can stop the water from flowing, you probably have to repair the pipes.
- Then, check the hose for cracks.
- In mid-May, you should also check your irrigation system.
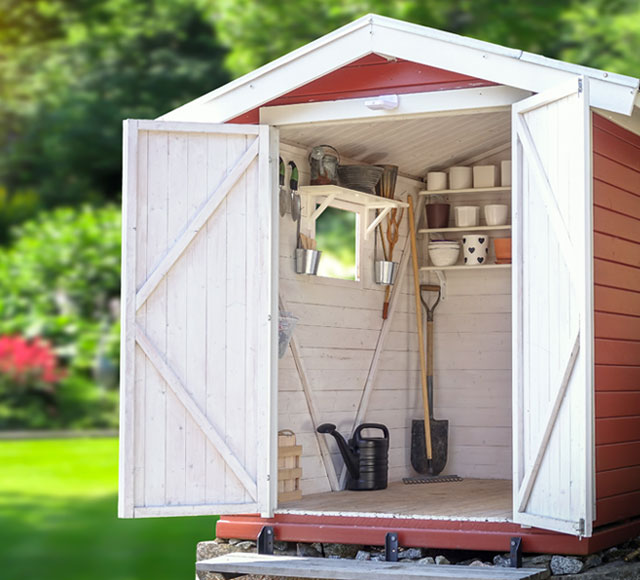
6- Clean your shed
A well-organized shed allows you to find what you need easily and keeps you from injuring yourself in it.
- Sort out your cleaning products and throw away those that have expired.
- Throw away damaged pool accessories.
- Give or sell the tools you don’t use anymore.
- Optimize storage space by installing racks, wall hooks and shelves. This will allow you to better store your gardening equipment, camping gear, etc. We recommend storing together your winter maintenance equipment, your pool equipment and your gardening products (get storage baskets or bins to avoid scattering them).
Pro tip: It’s important that you clear a space in the shed to move around and easily access your equipment. This will also prevent the risk of injury.
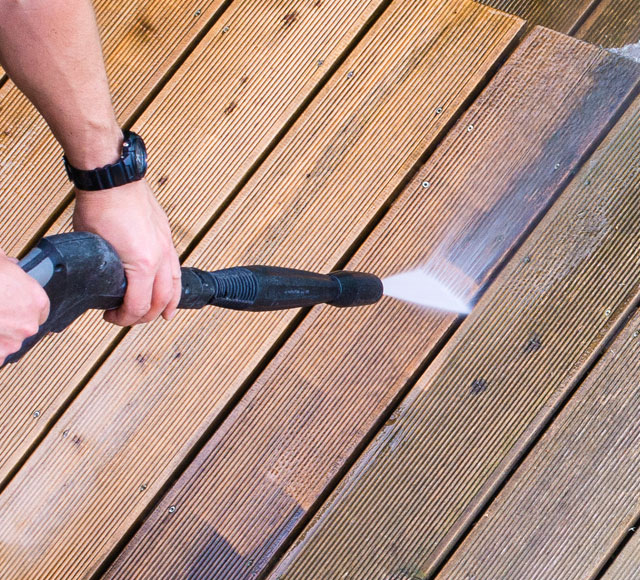
7- Clean your deck
It’s best to clean your deck before bringing out your outdoor furniture.
- For concrete surfaces, use a paver cleaner and a brush, then rinse.
- For stained or painted wood, water and soap is usually sufficient. For very dirty decks, you can coat the surface with a baking soda and vinegar solution, scrub with a mop or broom, then rinse.
- For natural or treated wood, you can clean with a pressure washer, using the lowest setting to protect the wood from any damage.
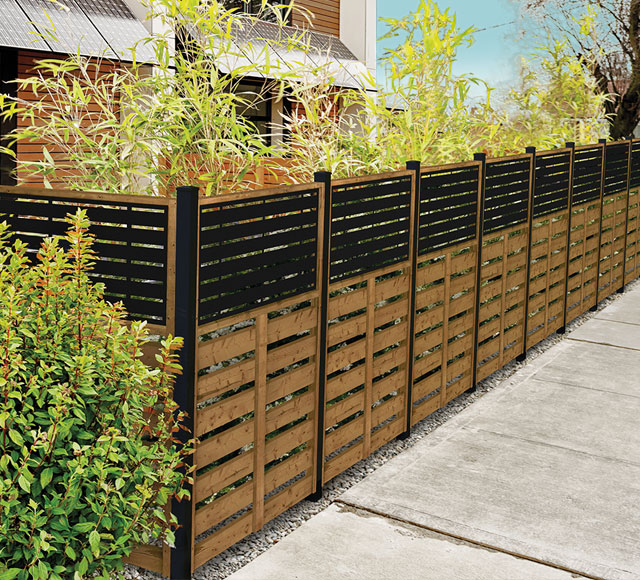
8- Maintain your fence
Basic maintenance can extend the life of your fence.
- Check the condition of the planks, locks and door hinges and replace any damaged parts.
- Lubricate hinges that are difficult to slide.
- If you want to clean the dirt from your wooden fence, you may need to use a pressure washer before applying a stain to protect it from the weather. We recommend that you stain your fence every year to ensure its durability.
9- Check walls
Walls with bulges or indentations must be repaired or they will continue to deteriorate.
10- Install outdoor lighting
You need to plan your outdoor lighting, as it ensures your safety and provides your garden with a pleasant ambiance. There are many models of lighting fixtures, some of which are solar powered.

11- Bring out your outdoor furniture
Once your deck is clean, it’s time to set it up for the summer!
- Clean your furniture with soapy water, then rinse.
- Tighten screws and fasteners.
- Apply liquid or paste wax to unpainted metal surfaces.
- If you find rust, scrape off the areas with sandpaper, then apply a rustproofing primer before repainting your metal frame.
- For wooden furniture, seal the cracks with epoxy resin or wood filler. Let it dry then sand and varnish it.
- Your outdoor furniture is too old? Get tempted by our vast selection of outdoor furnitures.

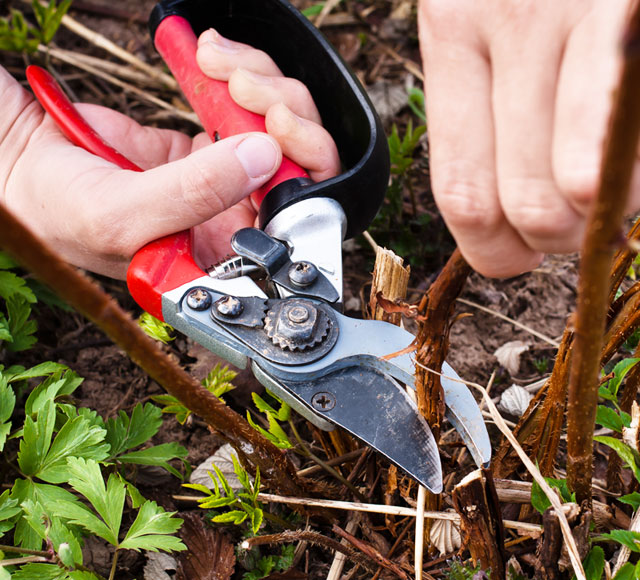
12- Prune trees and shrubs
In early Spring, you should prune your trees and your shrubs—those with decorative foliage and those that bloom in the summer and in the fall, such as hydrangeas, smoke trees, cinquefoils and tamarisks.
Shrubs that bloom in the spring should be pruned after they bloom.
- Disinfect the blades of your pruning shears with a pad soaked in rubbing alcohol before starting to cut the branches and between each plant.
- Determine which branches are sick, damaged or dead to dispose of them.
- Fertilize the roots of trees and shrubs.
You'll need :
Pro tips:
- Always wear protective glasses when cutting branches, as wood can splinter and shatter everywhere.
- Avoid pruning on rainy days to prevent plant diseases.
- Never remove more than 30% of the volume of a shrub and never cut more than one third of the length of a branch.
- Call a qualified, insured arborist when you need to cut big branches.
13- Trim rose bushes
It’s important to trim rose bushes early in the spring before any buds appear. This will promote flowering.
- Cut the stems about 1 in. below the damaged areas.
- Apply wood glue to freshly pruned stems to repel insects and diseases.
- Fertilize the soil around your roses.
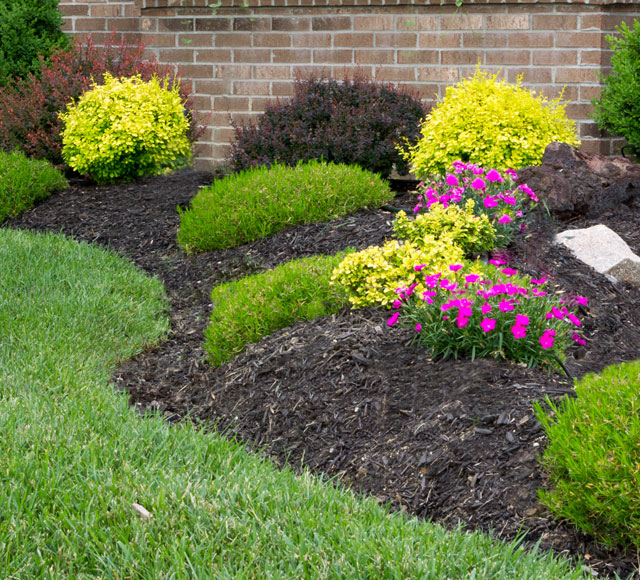
14- Clean up flowerbeds
You should clean up your flowerbeds before your perennials start to bloom for the season.
- With a rake, remove all dead leaves and other plant debris.
- Remove visible weeds.
- Dispose of the annuals that were left in the ground in the fall.
- Prune grasses and evergreens at branch junctions.
- Replant more deeply any perennials with visible roots.
- With a spade, gently loosen the soil around each perennial, and add some compost and chicken manure pellets.
- Remove last year’s mulch and add new mulch.
- With a square shovel, outline the edges of your flowerbeds.
15- Trim perennials
To prepare your plants for a new season, it’s crucial that you trim them with pruning shears or shears early in the spring before new stems grow. You should avoid, however, pruning spring-blooming perennials.
- Trim perennials to a height of 4 to 5 inches.
- Trim ornamentals to a height of 2 to 3 inches.
16- Divide perennials
Spring is the perfect time to divide and replant perennials that have become overgrown, or to revive them when they are not thriving. In late-April and early-May, you should divide species that flower after mid-June, such as hostas and larkspurs.
- Point the blade of a spade to the middle of the plant to be divided.
- Press the foot of the spade and insert it directly and precisely into the plant to detach the roots.
- Remove by hand the part of the plant you wish to move.
- Add potting soil to the hole of the divided plant and pack it well to prevent air bubbles.
- Replant the divided plant without burying the collar (the junction between the roots and the stem) and pack the soil well. Water thoroughly.
Pro tip: You should divide perennials during a cloudy day to avoid exposing roots to sunlight.
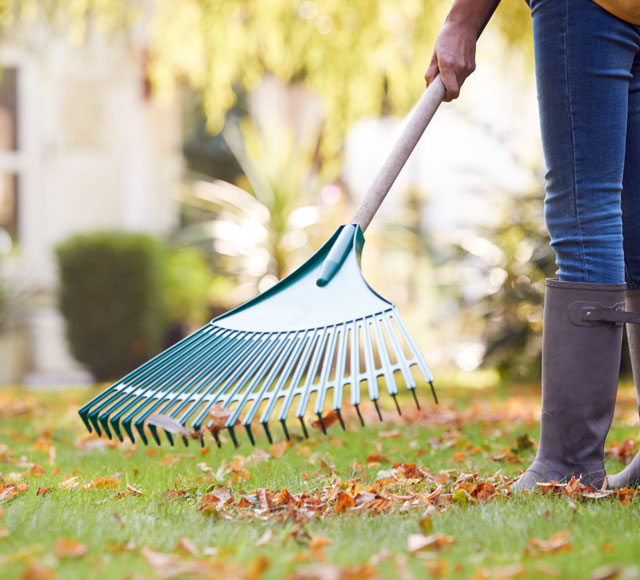
17- Rake up your lawn
The first step to a nice lawn is raking up all the leaves in your yard with a good rake and broom.
- When there are few leaves, you can spread them on your yard and shred them with your mower when they’re dried. They’ll turn into compost: you’ll need to scatter them with a rake so that they sink into the earth and don’t prevent grass from breathing and receiving the light needed for its growth. It’s important to note, however, that this technique is only possible when the layer of leaves is less than 2 cm (1 in.) thick, otherwise it will smother the lawn even if the leaves are shredded.
- If you see that a thick layer of thatch covers your lawn in some spots, you’ll need to clear the stubble, which involves removing the layer of organic matter to promote soil aeration and irrigation.
18- Spread soil
If you have sandy soil, you’ll need to spread at least 1 cm of black soil everywhere to improve its composition.
If your soil is clayey, you’ll need to enrich the soil with garden soil. You should do this every two years.
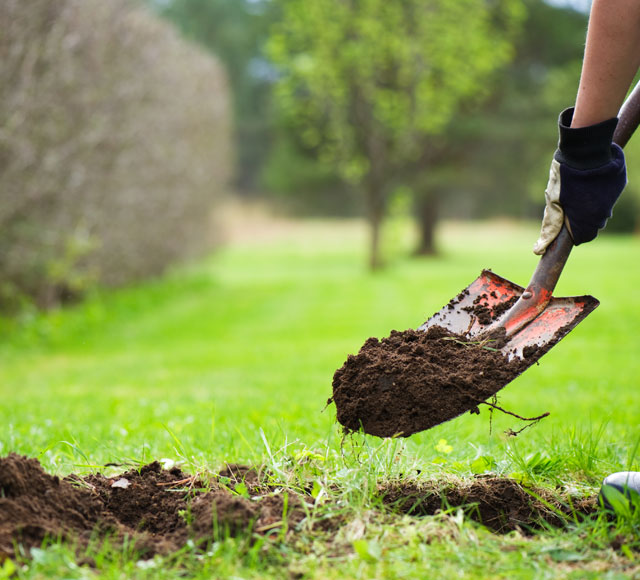
Pro tip: To encourage soil amendment, you should first aerate your soil. Aeration (also known as coring) involves removing small cores of soil from your lawn to help air, water and nutrients penetrate the grass roots. Aeration allows the sand or soil to penetrate your garden more easily, and helps the lawn grow healthier.
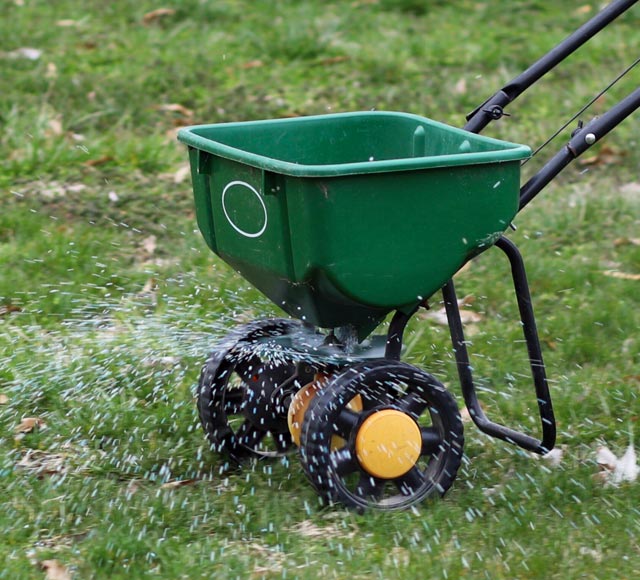
19- Plant grass
For healthy, lush grass, you need to start taking care of it in the spring.
- Rake where the grass is sparse to aerate the soil and add about 1 cm of soil with compost.
- Sow grass seeds everywhere (especially on sparse spots).
- Water your lawn regularly to help the seeds sprout.
- When the grass has sprouted, apply lawn fertilizer.
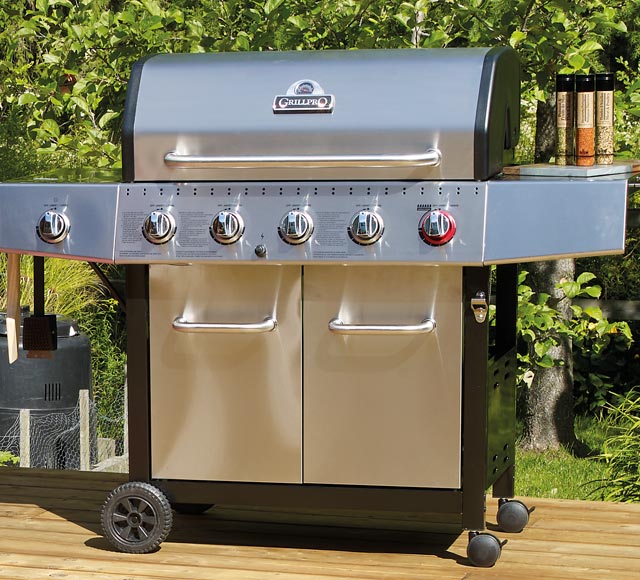
20- Clean your barbecue
We recommend that you do maintenance on your barbecue during the spring, in midsummer and before storing it in the fall.
- Open the tank valve.
- Clean all the fittings and the hose that connects the tank to the barbecue with soapy water. If you see bubbles, tighten the fittings and repeat cleaning with the soapy water to check for any air.
- Change the fittings and the hose, if needed.
- Clean the barbecue grills and bowl.
- If your are not satisfied wirth the result, have a look to our selection of barbecues and smokers.
Essentials for spring maintenance
- Add to Wish List
 TECHNISEALWater Based Wood Protector - Cedar - 19 m² - 3.78 l$41.97 $49.98
- In stock
- In-store pickup
- Truck delivery
- Add to Wish List
 BOTAFLORA32-0-4 homogeneous spring-summer lawn fertilizer$24.98
- In stock
- In-store pickup
- Truck delivery